


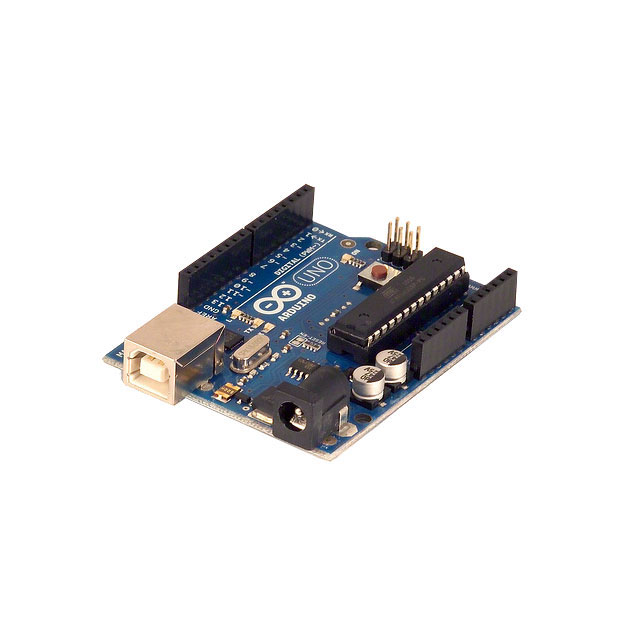
Tillv. artnr. A000066
ARDUINO UNO R3 ATMEGA328P BOARD
Arduino
![]()
Courtesy of All About Circuits
Want to make your regular old thermostat a smart one? Good news, you can upgrade that mechanical thermostat with an Arduino and a servo motor. This is a great project for somebody who doesn’t want to fork out the money for a Nest or some other programmable thermostat. It can also offer some relief for ever-vigilant parents who constantly have to tell their kids “Don’t touch the thermostat!” It may not have the prettiest design, in fact, it looks like something Doc Brown or MacGyver would make, but it’s cheap and it works!
How Does it Work?
The servo sits next to the thermostat and the servo’s router is connected to the little arm on the thermostat that adjusts the temperature is connected to the servo with a paper clip. The Arduino can then use the servo to adjust the temperature setting on the thermostat at different time periods of the day.
Bill of Materials
The Code
Constructing this project is relatively simple, but the code can be tricky. Currently, there is only a Fahrenheit version of this code. Fahrenheit is easier to work with than Celsius because it has more degrees of variation… plus the thermostat used in the project was Fahrenheit. The first thing you’ll need to do is set a default temperature for your house (in degrees Fahrenheit) in the variable “defaultTemperature.” This is the temperature that your house sits at most of the time. Throughout the week, the temperature will be adjusted up or down from this baseline.
Next, you’ll need to set hourly temperature adjustments. These are stored in a two-dimensional array called “dayTimeArray [7][24].” The array is divided into days of the week and the individual hours in each day, hence the 7/24. Each hour in the week is initially set to 0. This means that at this hour the temperature setting is equal to the default temperature. To adjust this, you can enter a value for that hour (positive or negative) representing the number of degrees up or down that you would like to change the temperature relative to the default temperature. For example, if the default temperature is 68 degrees and you want the temperature to be 66 degrees at a certain time, then you would enter a value of “-2” for that position in the array. You can enter the temperature adjustments for each hour of the week. Filling out values for 168 hours in a week can be tedious, so copy/paste is your friend!
The next order of business for the code is entering a numerical value for the current day of the week (0 through 6), the hour of the day (0 through 23) and minute (0 through 59). Each of these values are stored in their own variables.
Below that, you’ll find a variable named “servoTemperatureConversion.” This represents the number of degrees of the servo’s rotation corresponding to a degree change on the thermostat. You can adjust this to calibrate the system for your specific servo. You’ll want to wait until you can attach the servo rotor to your thermostat’s adjustment arm. You can download this code on All About Circuits.
Once you’ve made all the necessary changes to the code, upload it to your Arduino!
Hooking up the Hardware
Connect your Arduino, servo, and thermostat according to the schematic below. You can also find step by step instructions below the schematic.
Connecting the Switches and Servo
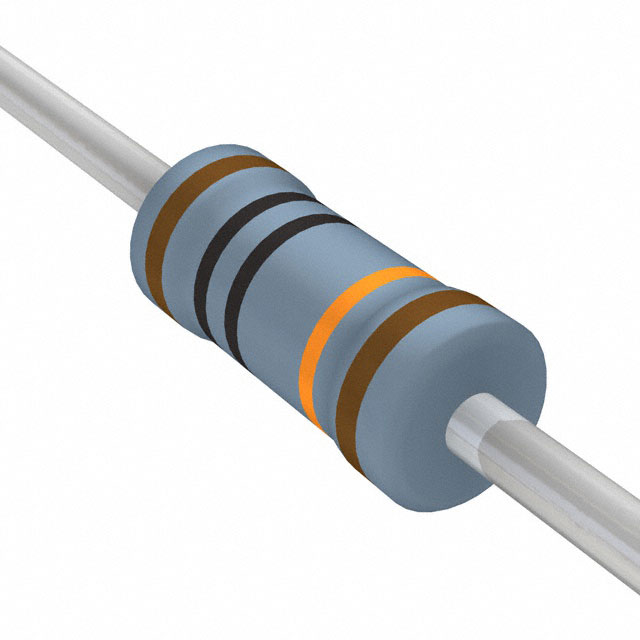
Two switches are connected to the Arduino that allow you to manually adjust the temperature without having to reprogram the entire system. To do this you’ll need two momentary switches. One side of each switch is connected to 5V. The other side of the switches are connected to digital pins 10 and 11. Those pins are also connected to GND with 100 kOhm resistors. These resistors work as pull-down resistors to keep the digital pins in a LOW state until the buttons are pressed. This also prevents false triggering from electrical noise. To avoid switch bouncing (the system interpreting one button press as multiple button presses), the code is set up to only accept one input from the switch per second.
The servo used in this project has three wires. One wire (usually red) connects to 5V. Another wire (usually brown or black) connects to GND. The third wire (this one was orange) is the signal wire and connects to digital pin 9. Different manufacturers may use different color codes, so you’ll want to find the appropriate colors for your servo.
Attaching the Servo to the Thermostat
The next thing you’ll need to do is stick the servo to the side of your thermostat. The easiest way to do this is a large drop of hot glue. Make sure that the mounting hole on the rotor is lined up horizontally with the head of the thermostat’s adjustment arm.
Connecting the Servo’s Rotor to the Thermostat’s Temperature Setting Arm
The easiest way to connect these with a piece of steel wire. Next, set the servo to the default position (by turning on the Arduino) and set the thermostat the default temperature. A paper clip was used for this project. First, the wire was straightened, then it was bent into a shape that would connect the two pieces. Last, you’ll want to make loops at the ends to hold them in place.
Using the Thermostat
Your programmable thermostat should work now. It will automatically adjust the temperature for you throughout the week. You can press the up or down buttons and all the temperature settings will be shifted up or down by one degree if you need to manually adjust the temperature settings.
Keep in mind that if your Arduino ever powers down, it will restart the program, so if the power goes out, you’ll need to reset the day and time.

Have questions or comments? Continue the conversation on TechForum, DigiKey's online community and technical resource.
Visit TechForum


 Sverige